Customizing Your Timeboxing Settings
Control your timeboxing experience with these settings.
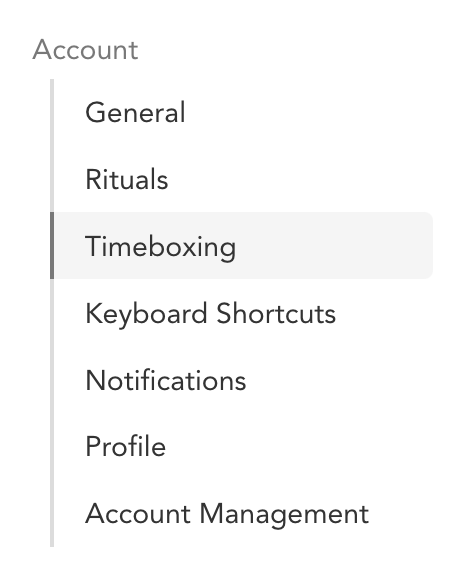
Account settings
In your Settings (accessible from the main dropdown menu), there is a dedicated section for Timeboxing settings.
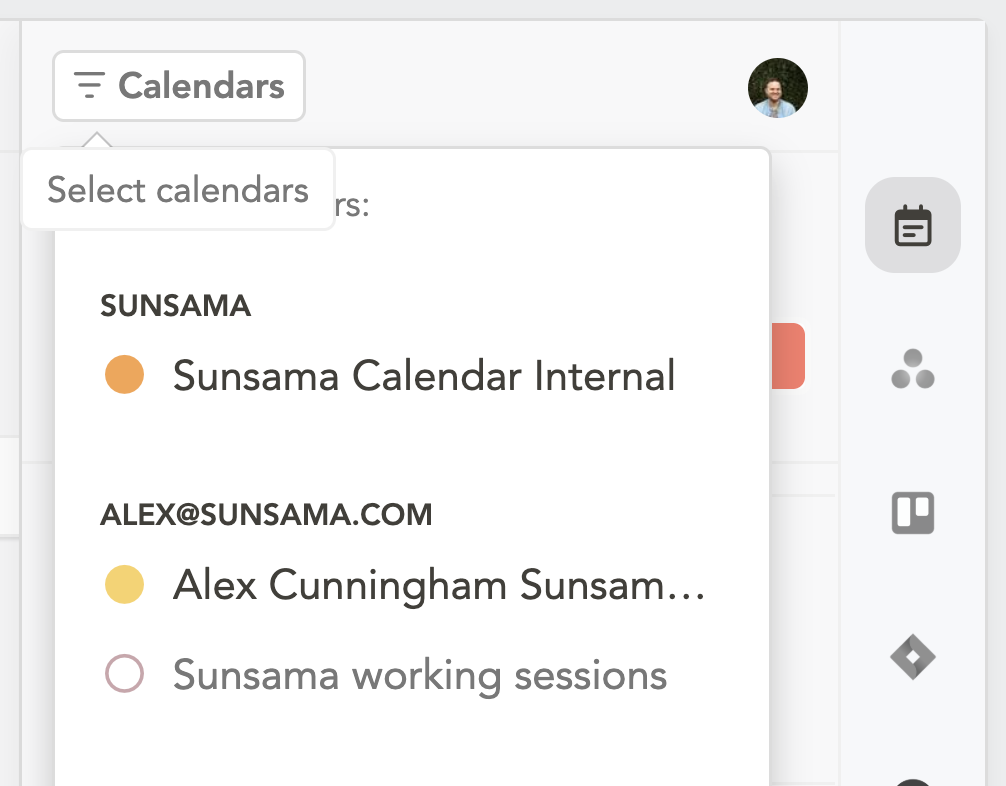
Pick which calendars tasks are scheduled to
Clicking the “Calendars” page brings you to your calendars configuration, where you can determine which calendars your working sessions should be created on.
Calendar reminders for timeboxed tasks
This setting allows you to manually override the reminders and notification settings of your underlying calendar. This is useful for disabling Sunsama task reminders on calendars where you already have reminders enabled.
Calendar availability for timeboxed tasks
Control how timeboxed tasks display your availability to others:
- Show as busy: Displays your task work as “busy” to others viewing your calendar or tools calculating your availability.
- Show as available: Tasks appear on your calendar but do not affect your availability status.
Calendar privacy of timeboxed tasks
Control the visibility of your working sessions:
- Calendar default: Honors your underlying calendar’s default new event privacy setting.
- Private: Prevents others from seeing your task details. Applies to both Google Calendar and Outlook Calendar.
- Public: All timeboxed events are marked as public and visible to colleagues.
Auto-scheduling gap
Choose how much time the auto-scheduler leaves between your calendar’s last item and the scheduled task. This provides breathing room between tasks.
Default duration when scheduling tasks
Determines the working session duration when a task is timeboxed. If the task already has a planned time set, that planned time overrides this default duration.
Auto-reschedule tasks when they conflict
Automatically shifts conflicting task(s) to the next available time slot.
Auto-reschedule when a task is completed ahead of schedule
When a timeboxed task is completed early, this setting automatically adjusts the scheduled end time and shifts remaining tasks forward to fill the gap.
Set up your working hours
Click the “Edit Schedules” button to access the Schedules page for configuration.
Schedules
Navigate to Settings from the main dropdown and click the “Schedules” section to set your auto-scheduling hours.
You can establish default schedules by day, which Sunsama uses unless channel-specific schedules exist.
Channel-specific auto-scheduling schedules override your default scheduling hours.
Calendar settings
Click “Calendars” in Settings to control which calendar receives your timeboxed tasks.
Default calendar for tasks
Set a “Default for tasks” calendar by clicking the desired calendar and toggling “Default calendar when scheduling tasks”.
Link a channel to a calendar
Link a channel so any task in that channel automatically timeboxes to that calendar. This setting overrides your “Default for tasks” calendar.

Calendar visibility
For timeboxing to work correctly, relevant calendars must be enabled and visible.
Toggle off the “Enable” toggle for calendars you do not need to see or timebox to. Enabled calendars can be viewed in Sunsama’s calendar.
Toggle calendar visibility by clicking it in the left panel’s bottom section. A filled color circle indicates the calendar is visible and actively in view.
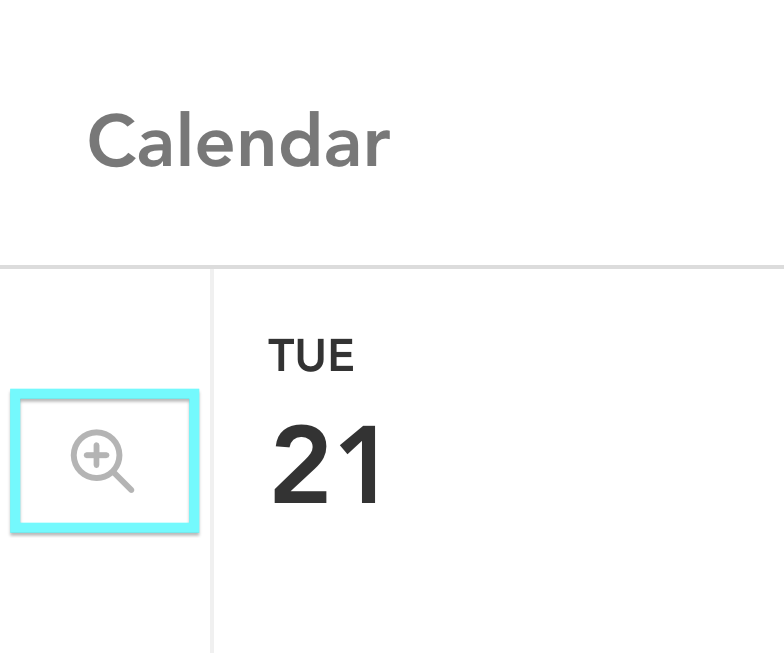
Zoom toggle for calendar view
Two calendar zoom levels exist in Sunsama. Toggle between them using the - or + button next to the calendar.
The zoomed-in view provides greater control and visibility when dropping tasks into the calendar, which is useful for crowded calendars with many small events.